
This is a guest post written by James Mathews, who is a writer and editor at bouncecolor.com.
Have you ever wondered why your home movies look so much different than Hollywood movies? I’m not talking about the acting or the CGI I’m referring to the look and feel of a film.
This look is intentional and directors often have a visual style which they will take with them from film to film, and this style is often created using a color grading suite.
Spending time in a color grading suite for many of us isn’t an option though because it’s a skill that takes many years to master and it’s also expensive to have someone else do it for you.
But don’t quit just yet, that is where lookup tables come into play.
MORE: 5 ways to get more video views on TikTok
Lookup tables, or LUTs as they are commonly referred to, can completely change the look of your film and make it look more polished and professional.
But what exactly is a LUT? From a technical explanation, a LUT is an array of numbers that takes an input from your camera/footage and then changes their RGB values to the output values of your choice to create a predetermined visual feeling.
If you’re just getting started in video or photo editing the explanation above may not make sense. So simply put think of a LUT as a sort of filter that can be used on your photos or video to make it look different. Of course, a LUT is more complicated than that but that is the general idea to take your footage and transform it into something else.
What are the benefits of using LUTs?
There are many benefits of using lookup tables to edit your footage, we have already mentioned that it helps with creating a more polished and professional look to your videos which is one of the main reasons why people use LUTs but there are many more.
LUTs can cut down on your editing time significantly. What would take hours in an editing suite can be done in seconds with a LUT. This of course is going to save you a lot of money if you run any type of videography or photography business.
MORE: Sign up for media consulting services!
Using LUTs can also help if you are trying to create a visual look for your brand and want all of your videos or images to have the same style. YouTubers or business owners would particularly benefit from using LUTs to do this.
If you spend time extensively editing videos after they have been shot, LUTs can help you cut down on this as they can be added to your monitor while shooting so you can see what the finished product would look like before editing.
Seeing what your film will look like before editing will save you a lot of money and could show you that you will need to reshoot some of your scenes early on rather than spending hours editing later.
What LUTs can’t do
LUTs may seem like they can improve your skills and make you a better videographer/photographer and when used correctly they can, however, LUTs aren’t supposed to be used to fix your mistakes.
If you have messed up the exposure or white balance on your shots then a LUT won’t fix that. You should think of a LUT as something that enhances your movies or pictures, not as something that can fix them.
Where can I get LUTs?
LUTs are available for free or paid online. All you have to do is look for the style that you want to achieve and then download them. LUTs come in many forms such as cinematic LUTs, LUTs for nature shoots, Drone LUTs and many more. Take a look around and think of the style of shot you want to make and then find LUTs around that. If you are stuck, I find cinematic LUTs are a great place to start.
MORE: Building a restaurant based on Yelp reviews
How do I use LUTs?
The great thing about LUTs is their versatility, they can be used on different devices, operating systems, hardware and software. LUTs can be used for video editing and photo editing. I will show you how you can use LUTs in Photoshop as it’s the quickest way to jump in and start playing around with them.
To start using LUTs you are going to need to download them. You can get free LUTs and paid LUTs and for this article any will do. If you are just starting out try out some free LUTs and if you like how they work you can then take more time to research ones you like the look of and start using them in your projects.
When you have your LUTs downloaded and unzipped to your computer make a note of where you have unzipped them too as we will need this location a little bit later.
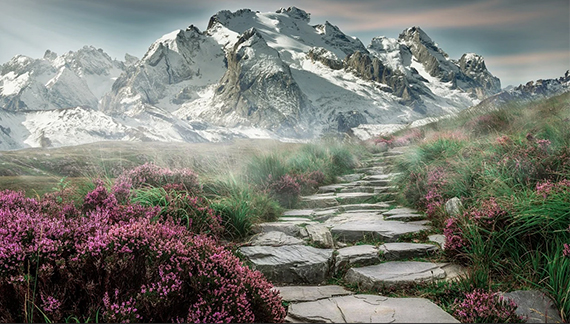
Next open photoshop and the image that you want to use. To open the image press CTRL + O and navigate to your image. The image I have chosen for this article can be seen below.
To start using LUTs in Photoshop you will need to be able to see the layers panel. If you can’t see the layers panel you may have it disabled, if this is the case go to the top menu bar and click on “window” and then check the option next to layers.
The layer panel will now be visible.
With the layer panel visible you are going to need to create a new adjustment layer. This icon looks like a half full circle. Click on that and then click on color lookup.

With the color look up selected you will now see a new window pop up where you will be able to select your LUT. For this tutorial click on the box that says “Load 3D LUT.”
You will now have to browse to where you saved your LUTs earlier.
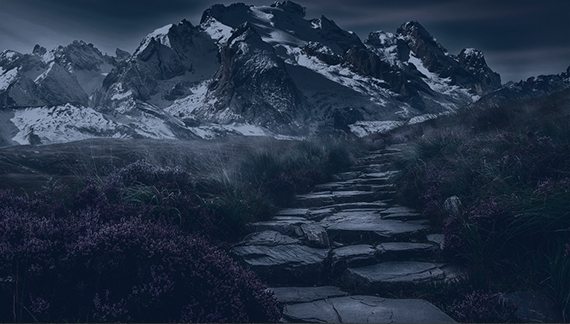
When you find the LUTs you can then start applying them to your image. This can be seen below:
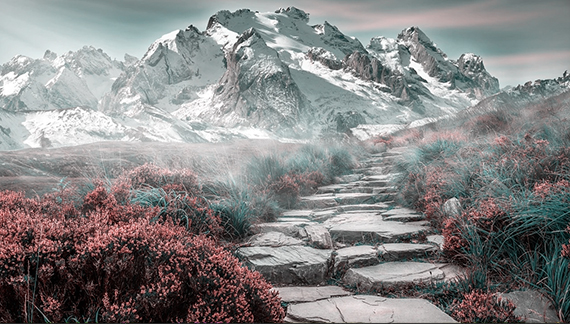
With a click of a button we can transform the look of our image.
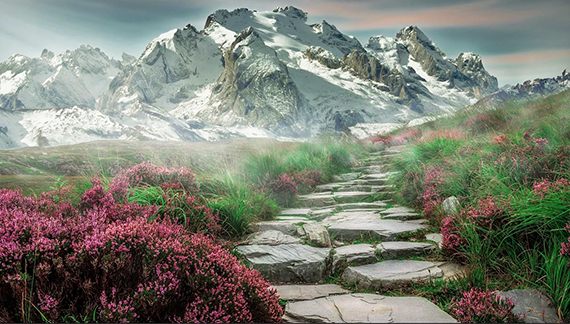
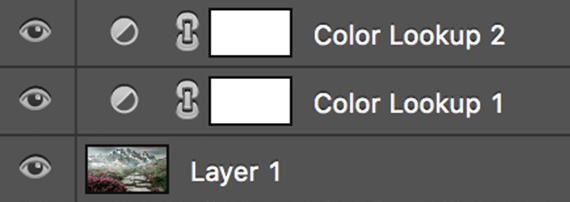
You don’t have to stop there when using LUTs you can combine them too by adding a second adjustment layer and using a new LUT.
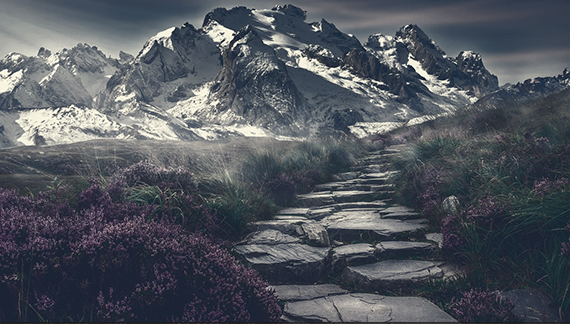
Using LUTs in your photography and videography can help you polish your content without spending hours editing.
Other Resources
LUTs as mentioned earlier in this article are versatile and can be used in different ways. Below are more resources you can use to learn more about using LUTs.
Comments